
 Roofing Services
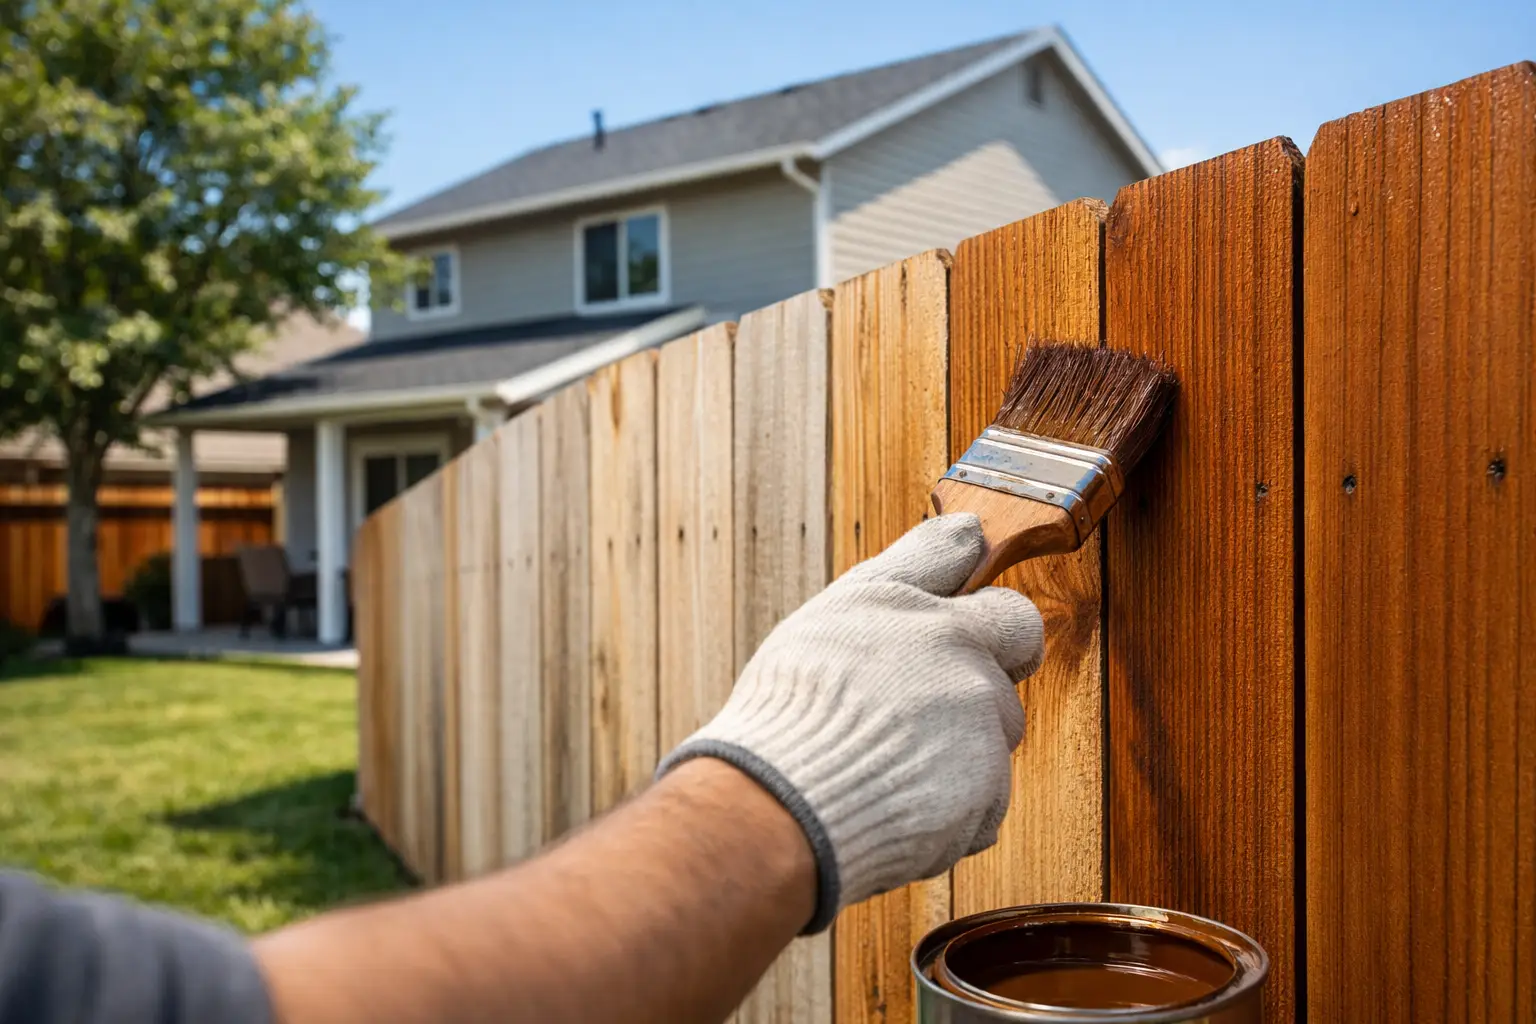
How to Stain Wooden Fence the Right Way
A fence can make your whole property look cared for – or make it look tired fast. If you’re figuring out how to stain wooden fence panels without ending up with lap marks, peeling stain, or a patchy finish, the real work starts before the stain ever goes on.
In Texas, that matters even more. Sun, heat, humidity, and sudden rain can wear out an untreated fence in a hurry. A good stain job helps protect the wood, slows down weather damage, and keeps your fence looking sharp longer. Done right, it is one of the most affordable ways to stretch the life of your investment.
Why staining matters more than painting
A lot of property owners ask whether they should paint or stain a wood fence. For most fences, stain is the better fit. It soaks into the wood instead of sitting on top of it, which means it is less likely to chip, crack, or peel as the boards expand and contract.
That matters on cedar and pine fences, especially in hot and humid conditions. Stain also tends to be easier to maintain. When the finish starts to fade, you usually clean the fence and apply another coat. Paint often turns into a scraping and repair project.
There is a trade-off, though. Stain does not hide imperfections the way paint does. If your fence has mismatched boards, repairs, or discoloration, a semi-transparent stain will still let some of that show through. If you want a more uniform look, a solid stain can give you more coverage while still behaving more like stain than paint.
How to stain wooden fence without wasting time or material
The biggest mistake homeowners make is rushing into application. Fresh stain will not fix dirty wood, loose boards, mildew, or moisture problems. It will just lock them in.
Start by walking the fence line slowly. Look for popped nails, warped pickets, soft spots, insect damage, and gray weathered areas. Tighten or replace what needs attention first. If the fence is leaning or sections are failing, staining is not the first fix. Structural repairs come before finish work every time.
Next, clean the fence well. Dirt, algae, pollen, and old residue block stain from absorbing evenly. In many cases, a wood cleaner and a garden hose are enough. If you use a pressure washer, keep the pressure controlled and the spray tip moving. Too much force can scar the wood and raise the grain, which leaves the surface rough and uneven.
After cleaning, let the fence dry fully. This part is easy to underestimate. Wood that looks dry on the surface can still hold moisture inside. If you stain too soon, absorption suffers and the finish can fail early. In warm weather, that might mean waiting a day or two. After rain or heavy washing, it can take longer depending on shade and humidity.
Choosing the right fence stain
Not all stain products perform the same, and the right choice depends on the look you want and how much maintenance you are willing to do later.
Transparent stain gives the most natural wood look, but it offers the least UV protection and usually needs reapplication sooner. Semi-transparent stain is the most common choice because it shows the wood grain while adding better protection and more color consistency. Solid stain covers the most and lasts longer in harsh sun, but it can mask some of the natural character of the wood.
Oil-based stains usually penetrate well and can be forgiving during application, especially on older wood. Water-based stains are easier to clean up, dry faster, and have improved a lot over the years. Neither is automatically better in every case. On an older fence with thirsty wood, oil-based products often perform well. On a newer project where fast dry time matters, water-based stain may make more sense.
Always test the color on a small section first. Fence stain can look very different on the can, on a sample card, and on your actual wood in direct sunlight.
Best weather for staining a fence
If you want a cleaner result, pay close attention to the forecast. The best time to stain is during a stretch of dry weather with mild to warm temperatures and low wind. Extreme heat can make stain dry too fast, which increases lap marks and uneven color. Rain too soon after application can ruin fresh stain before it cures.
Morning can be a good time to work, but avoid starting when the fence is still damp with dew. Late afternoon can also work, especially on fence lines that get heavy direct sun earlier in the day. If one side of the fence bakes in the sun and the other stays shaded, expect the application pace and dry time to feel different on each side.
Tools that actually help
You do not need a truck full of gear, but the right tools make a big difference. A stain brush helps work material into the wood grain and gives good control around edges and joints. A roller can speed up broad flat areas. A sprayer is the fastest option for large fences, but it works best when followed with back-brushing or back-rolling to even out the finish and push stain into the surface.
Drop cloths, gloves, painter’s tape, and a good stir stick are worth having on hand. So is extra time. Fence staining goes better when you are not trying to finish it in a rush between other jobs.
Step-by-step application
1. Protect the area around the fence
Move patio furniture, grills, planters, and anything else near the fence. Cover concrete, masonry, plants, and nearby surfaces that could catch overspray or drips. This matters even more if you are using a sprayer.
2. Stir the stain thoroughly
Do not shake the can and call it done. Pigments settle. Stir well before starting and occasionally during the job so the color stays consistent from the first panel to the last.
3. Work in manageable sections
Apply stain to a few boards at a time, usually from top to bottom. Keeping a wet edge helps prevent lap marks. Stopping in the middle of a panel can leave visible lines once the stain dries.
4. Brush out heavy spots
Even if you spray or roll, go back with a brush where needed. Watch for drips under horizontal rails and around knots, cracks, and board edges. Thick spots do not absorb evenly and can dry sticky or glossy.
5. Let the first coat tell you what the wood needs
Some fences soak up stain fast, while others need much less than expected. If the product calls for a second coat, follow that guidance carefully. More stain is not always better. Over-application can shorten the life of the finish instead of improving it.
Common mistakes that cause fence stain to fail
Most bad stain jobs come down to prep, timing, or using too much product. Staining over damp wood is a major one. So is skipping cleaning because the fence “doesn’t look that dirty.” Dirt you barely notice can still interfere with absorption.
Another common problem is choosing color based only on pictures. Real wood species, age, and sun exposure all affect the final look. The fence on the shady side yard may not match the one by the driveway exactly, even with the same can of stain.
Trying to cover an old painted fence with standard wood stain is another issue. If the surface already has a film-forming finish, it usually needs more extensive prep or a different product altogether.
When to stain a new wooden fence
This depends on the wood. A new fence often needs time to dry out before staining, especially if the lumber was recently treated or still holds mill glaze and moisture. Some fences are ready fairly quickly. Others need several weeks or longer.
A simple water test can help. Sprinkle a little water on the wood. If it soaks in, the fence may be ready. If it beads up on the surface, it likely needs more time or additional prep. It is not a perfect test, but it is a useful starting point.
For homeowners in places like Spring, Conroe, and The Woodlands, local weather can change the timeline. Humidity and afternoon storms can keep wood from drying as fast as expected, even during warm months.
How often should you restain?
There is no one-size-fits-all schedule. Transparent products may need attention sooner, while semi-transparent and solid stains can last longer. South-facing fences and sections with intense sun exposure usually fade faster than shaded areas.
As a general rule, restain when the color noticeably fades and water stops beading or absorbing evenly. If the wood starts looking dry, dull, or patchy, do not wait until it turns gray and rough. Maintenance is easier and cheaper when you stay ahead of full weathering.
If you want the fence to look good and hold up, the best approach is simple: repair what is loose, clean what is dirty, wait for dry wood, and use the right stain for the condition of the fence. If you would rather skip the trial and error, GottaCallMAC can help get the job done right the first time and keep your property looking like it should.
